3D laser scanning and point clouds have become integral tools in modern-day design and construction. They are especially useful while renovating existing structures, with confined zones, intricate interiors, and complicated building components.
Surveyors often face numerous challenges with legacy surveying and reconstruction methods, which are unable to accurately draw and record the structural elements of existing building structures. Some challenges include:
- Wrong spatial analysis
- Incorrect visualization of structures
- Inaccurate cost estimates
- Increased design risks
- Operational inefficiencies
Point Clouds offer an effective solution to these challenges by providing a precise and holistic view of existing structures in 3D.
What are Point Clouds?
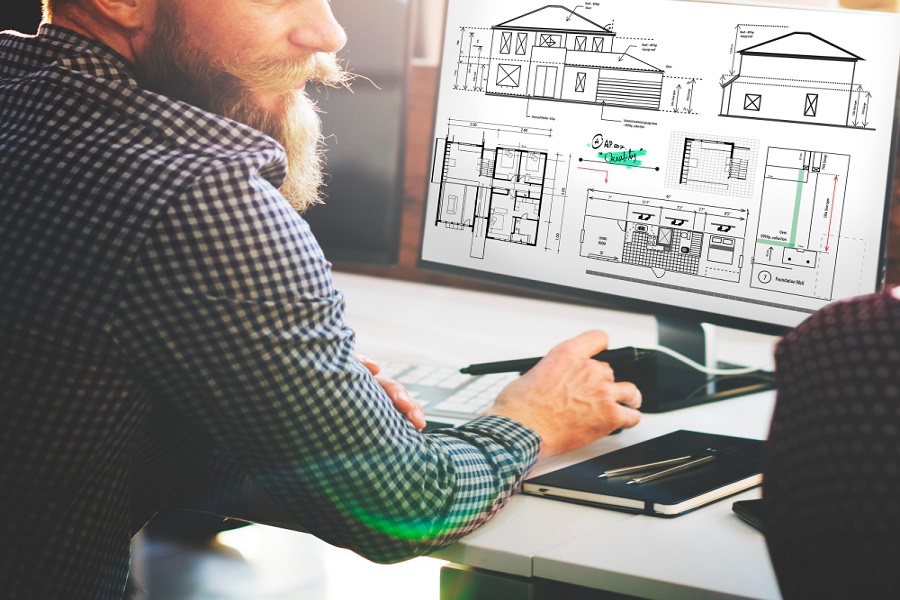
Point clouds are sets of data points in three-dimensional space, collected through laser scanning or photogrammetry. Point clouds provide a detailed representation of real-world objects or landscapes. This makes them valuable for applications in various fields, such as architecture, engineering, construction, surveying, and geospatial analysis.
When added to BIM models, these data points can be used for the precise and accurate creation, visualization, and analysis of designs, blueprints, and Point Cloud-to-BIM Revit models. The process involves importing the captured point cloud data into specialized software and using the latest technology tools to extract relevant information about walls, roofs, floors, and other architectural components to create a precise three-dimensional Building Information Model (BIM).
Software Used for Point Cloud-to-BIM Modeling
Converting large datasets of point cloud information into 3D BIM is a complex task that requires specialized software. Some popular ones include:
- Autodesk Revit
- Navisworks
- Autodesk Recap
- Autodesk AutoCAD
- ArchiCAD
- Rhino 3D
- Trimble RealWorks
Autodesk Revit – The Preferred Choice for Creating Scan-to-BIM models
Though there are numerous software for creating scan-to-BIM models, Autodesk Revit remains most common choice for scan-to-BIM modeling. This is due to Revit’s vast user base and user-friendly interface. Revit facilitates:
- Improved 360-degree visualization that allows architects, engineers, and construction professionals to get exact information about various building elements.
- Creation of precise digital models that ensure as-built conditions closely align with the digital representations.
- Superior collaboration among stakeholders for reduced clashes and enhanced decision-making
- Hassle-free analysis and simulations of energy consumption and accessibility.
- Precise documentation through bi-directional scan-to-BIM Revit models that ensure even the slightest edit is automatically updated and documented. 2D CAD Drawings can be extracted from the finalized models with ease.
Tips to Effectively Using Point Cloud in Revit
Point clouds in Revit offer a wealth of possibilities for architects, engineers, and construction professionals. They enable precise modeling and visualization of existing structures and help streamline the renovation and facility management of buildings. However, to achieve the desired results, Revit models need to be created accurately. Here are some tips and tricks that can help you make the most of this powerful BIM tool:
1. Prioritize Quality from the Start
When working with Point Cloud Data for Revit Modeling, remember that while it provides precise geometry, it lacks the ability to see through walls or roofs. So, hire an experienced Revit modeling technician and provide supporting information such as photos, plans, and research to enhance the point cloud’s accuracy
2. Understand the Purpose
Evaluate the specific use of the point cloud for your project. Clearly define your goals to save time and resources. Seek advice from experienced professionals, if needed
3. Define the Point Cloud File Format with Precise Coordinates
Point cloud data can come in various file formats. Select a format compatible with Revit, and consider using Autodesk’s Recap software for format conversion if needed.
4. Adapt to the Cloud
Adapt Revit families as needed to suit your project. Identify recurring patterns in the point cloud and create architectural families for these patterns. For example, modify similar parameters to make elements like curtain walls and railings function, as intended.
5. Ensure Effective Project Management
Coordinate files across Architecture, Structure, and MEP disciplines – distinguishing between wings or buildings. This will minimize hard disk storage and reduce the working memory burden, particularly when dealing with heavy point cloud data.
Create a structured system of views and work; Revit has various utilities that can help you understand project geometries, which extend beyond floor plans and 3D views. Also, incorporate reference boxes to streamline your workflow as the project expands.
6. Leverage Collaborative Platforms
If multiple modelers are involved, prepare your model for collaboration to efficiently integrate contributions from others without unnecessary delays. Seek guidance from a Revit specialist who can help you improve your workflow as well as explore platforms that facilitate collaboration.
7. Optimize Equipment Specifications
You don’t need an expensive computer setup to work with point clouds in Revit. A computer with sufficient memory and a medium-grade graphics card can suffice. Ensure your memory is at least 2/3 of the point cloud’s size.
8. Utilize the Hot Spot System
Versions of Revit from 2017 onwards include a hot spot system for pinpointing the closest point in the point cloud for reference. This tool is invaluable for high-precision modeling and analysis.
9. Precisely Reference the Cloud
When working with point clouds in Revit or any other BIM modeling software, it’s crucial to understand the referencing system. So, determine the zero point of your point cloud data and your project. Consider whether georeferencing your project is necessary. By addressing these questions at the outset, you can avoid future complications. The less your point cloud data moves, the better. This approach enables you to effectively manage issues like updates to the point cloud or model extensions.
10. Take the Risk
Don’t be overly cautious; embrace the learning curve and begin working with the point cloud tool. Experience is invaluable and seek guidance when needed. It will help you master this essential tool in Revit modeling.
At Enginerio, we understand that creating a BIM model can be complex – not just in making it but also in using it effectively. Experience is key to ensuring that the model serves its purpose over time.
That’s why, seeking help from experienced professionals offers many benefits. Hire our Revit BIM experts to create top-notch Point Cloud-to-BIM models. We can not only help you save time and money but also create accurate Point Cloud BIM models that ensure superior designing, repairing, and renovation of buildings, in accordance with the latest building design and construction standards.
Your project’s success is our main focus, and we’re dedicated to offering you the best BIM solutions in-house. Connect with us to leverage our Point Cloud to BIM Model Conversion Services and make modifications and alterations quick, easy, and less time-consuming.